Getting Started With Jenkins
After you have installed Jenkins, now, let’s walk through the Jenkins user interface. On the left side of the page, you’ll notice the navigation menus, e.g. New Item, People, Build History, Manage Jenkins and Credentials. There are also the Build Queue and Build Executor Status panes.
Managing Jenkins Credentials
Initially, Jenkins is completely insecure. Let’s configure its Global Security from the Manage Jenkins sidebar menu option:
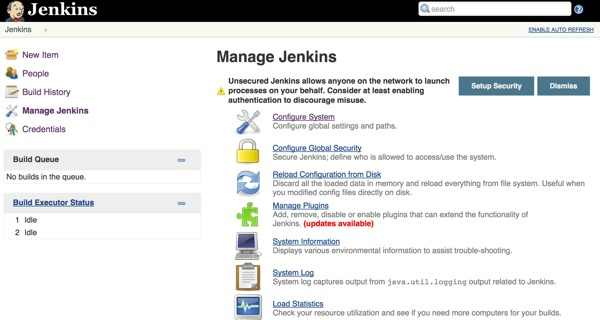
Click Configure Global Security:
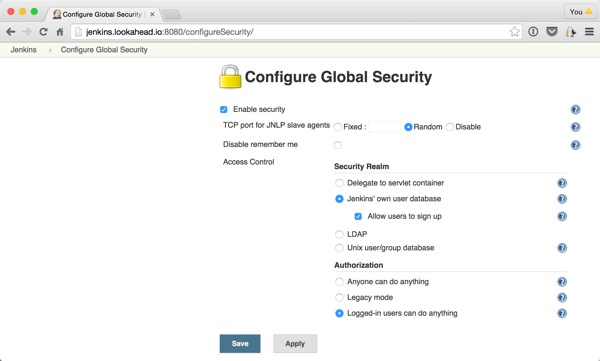
Then, from the home screen, sign up to create a new account and log back in.
Then, return to the Configure Global Security page and turn off the checkbox beside “Allow users to sign up”:
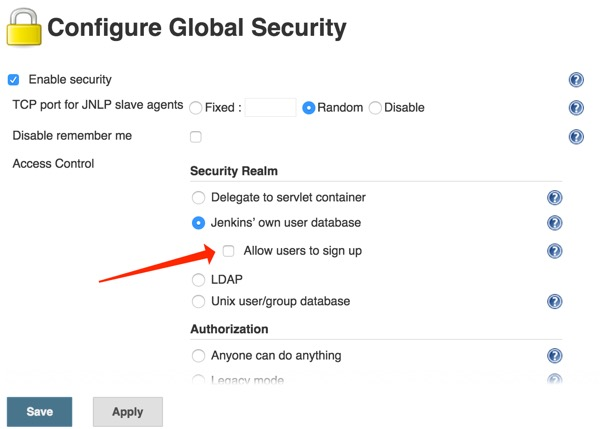
This will prevent unauthorized visitors from creating new accounts.
The People Menu
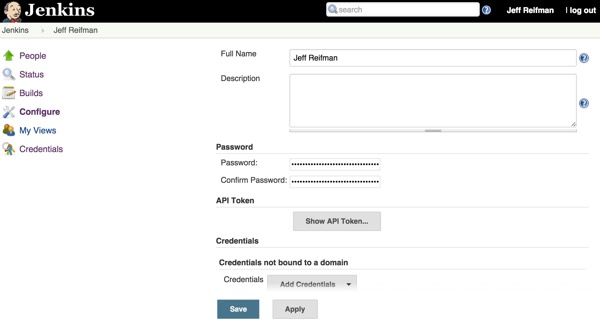
You can manage the accounts on the system from the People menu in the left sidebar:
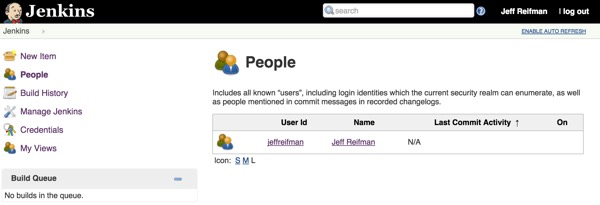
Click on the name of the user. This will load another level of left sidebar menu items specific to the selected person:
Creating Project Items and Sample Builds
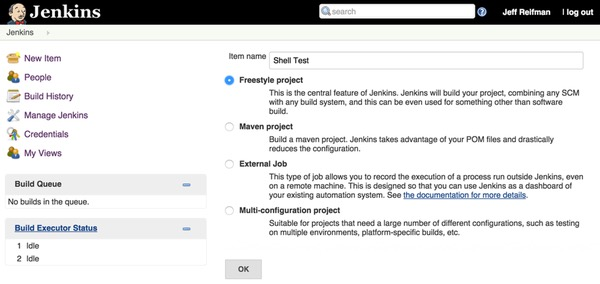
Now, we’ll create a sample project which integrates a simple GitHub repository pull and shell command. From the main Jenkins page, click New Item:

Type in Shell Test and select Freestyle Project:
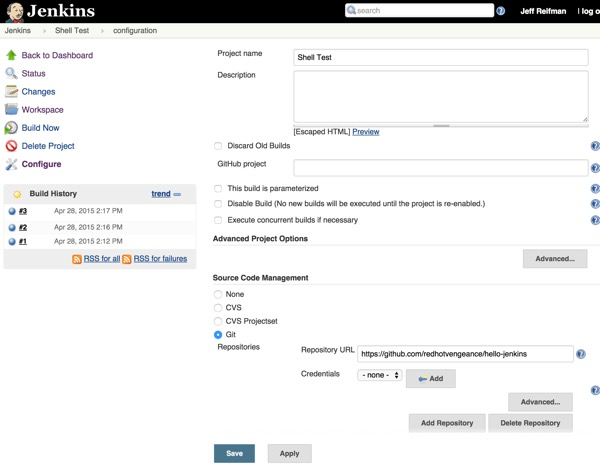
After you click OK, you can configure the project further. For example’s sake, I’m using Ian’s Hello-Jenkins repository from Setting Up Continuous Integration & Continuous Deployment With Jenkins (Tuts+):
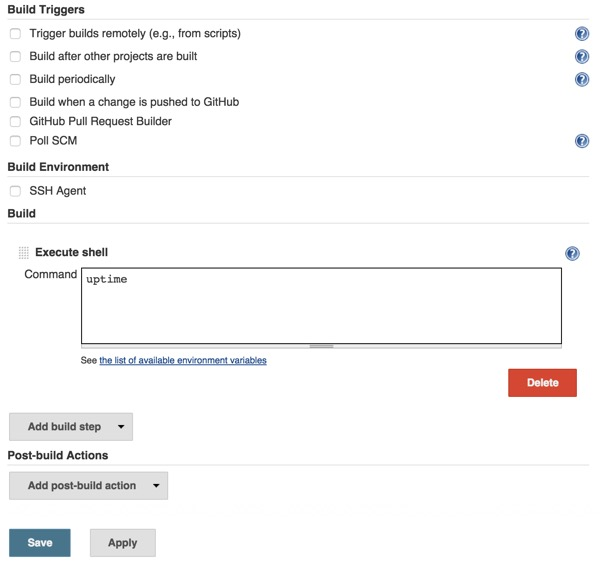
If you scroll down, you can also set build options and configure a sample shell command, e.g. uptime. Alternately, you could use this to run any build script you needed.
Once you save the options, you’ll see the Jenkins project page, e.g. Project Shell Test. There’s a menu on the left hand side for the project. If you click Build Now, Jenkins will schedule and build your project.
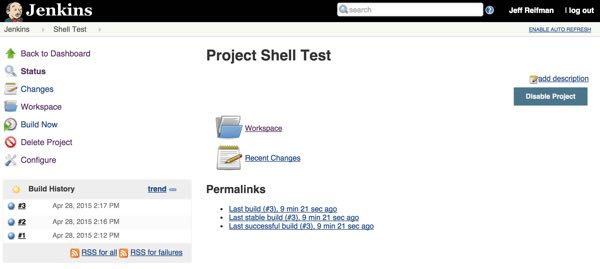
The Build History can be seen in the left hand pane. If you click on one of the build histories, you’ll see the Jenkins build results:
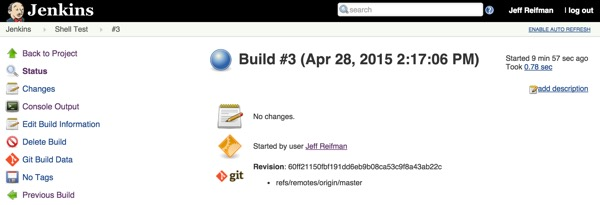
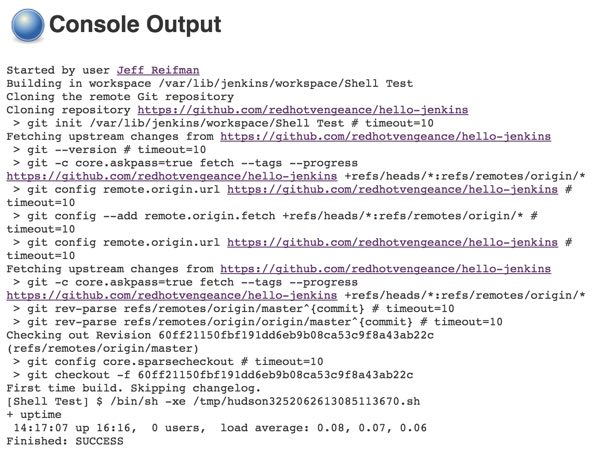
Click Console Output to see the full results. You can see the git pull and the uptime shell command results:
Now you have a basic walkthrough of how Jenkins projects and builds work.